

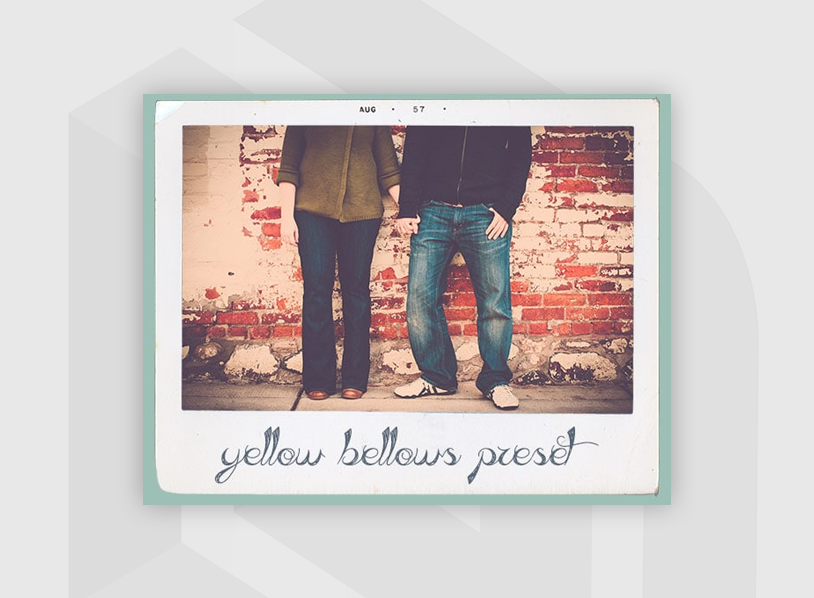
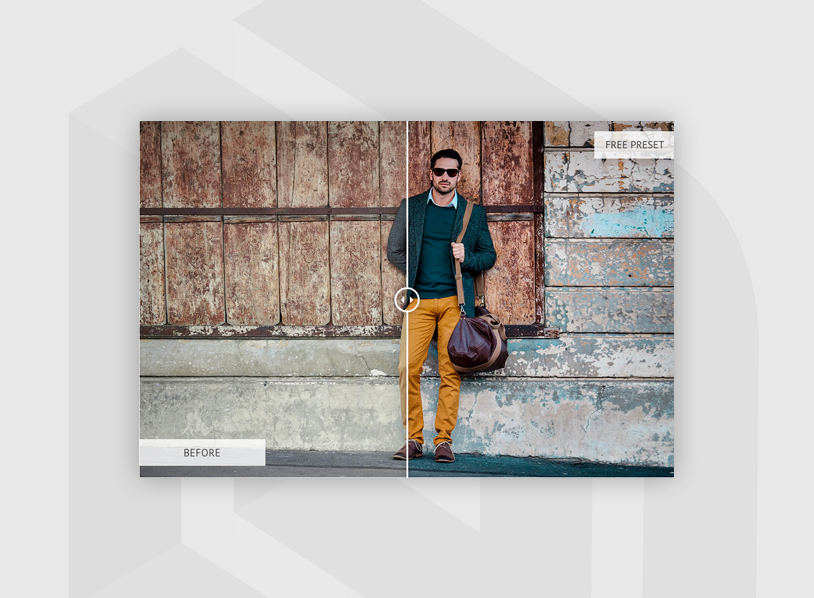
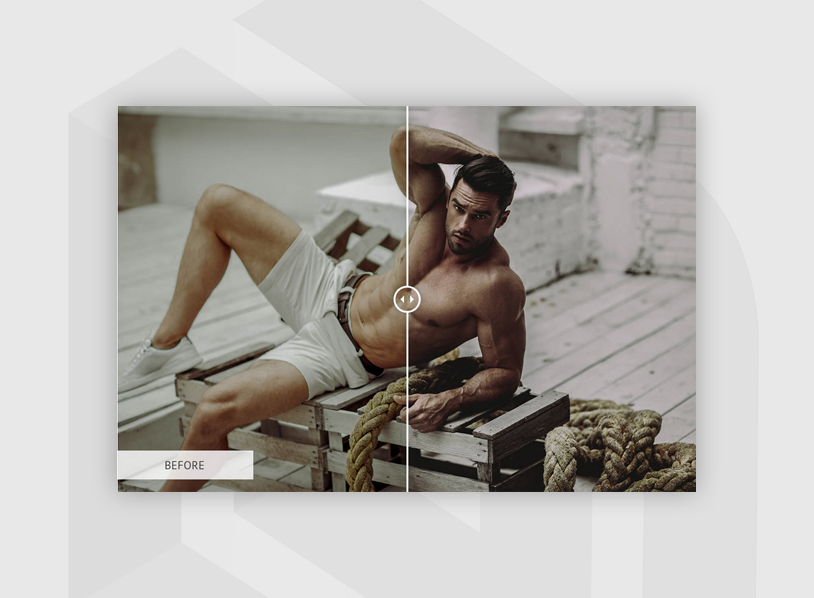
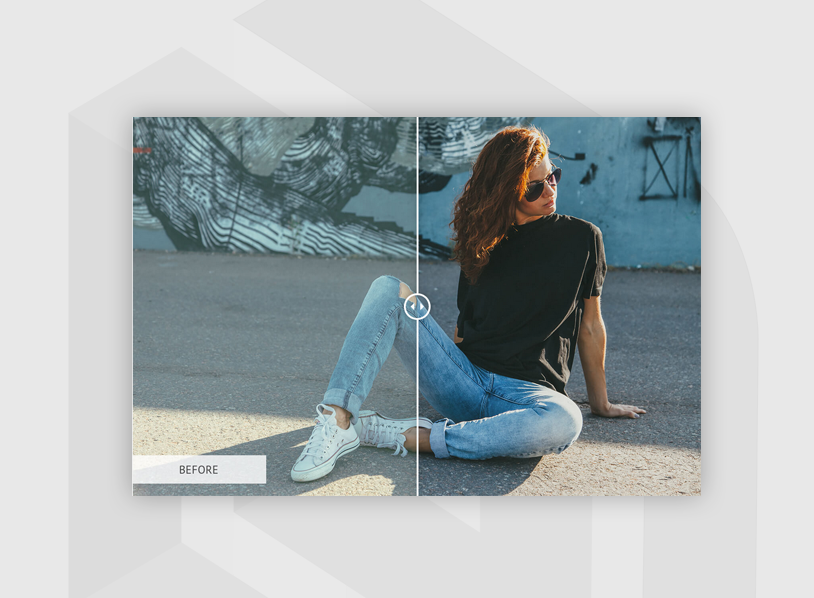
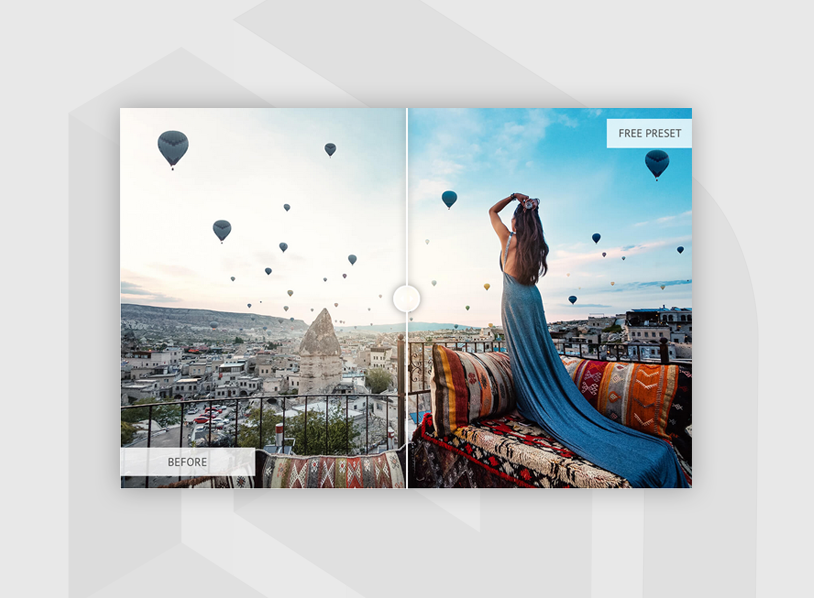
Using Lightroom Presets is an a simple and easy way to give your photography a different look with one click of your mouse – you can also edit the look to get the perfect feel. They can quickly turn an otherwise average-looking shot into something truly special. However, while you might assume that a dark Lightroom preset does nothing more than increase contrast, there’s more to it than meets the eye.
With different sorts of color tones, hues, and color correction templates, there really isn’t a one-size-fits-all preset when it comes to the perfect dark and moody shot. So, this is why we’ve compiled a list of the best free dark Lightroom presets that will truly add some interesting looks to your shots.
Get The Ultimate Bundle of Lightroom Presets, Save Thousands!

Includes every Lightroom Preset + All Future Updates for Life!
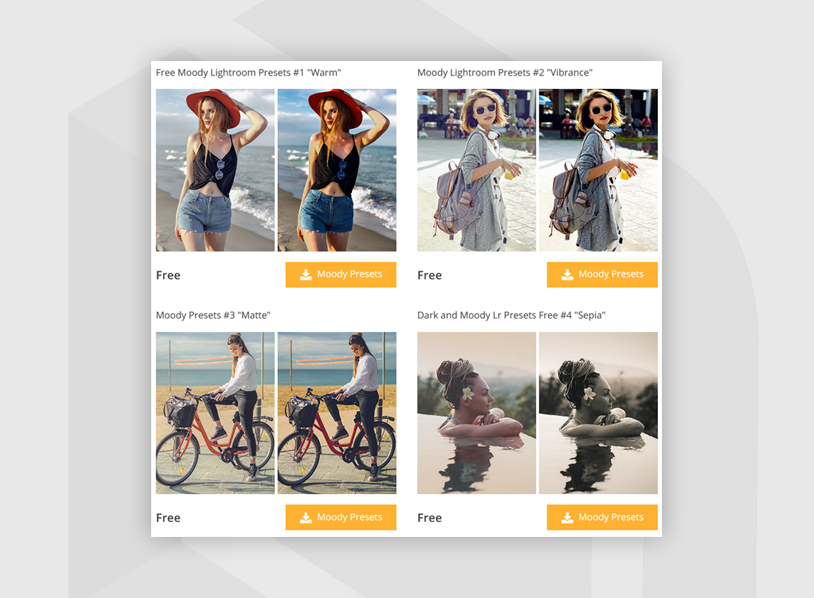
1. Lightroom Preset Saturation
This preset works best in images that require some saturation to be added in dimmer colors. I’ve seen it work best with human subjects as the overall tone becomes darker while the composition sees some brightening out at the edges. I would not recommend using this preset for images where there’s a prevalence of white color.
2. Lightroom Preset Eclipse
The Eclipse preset really darkens your overall composition and hides a lot of detail in your shot. It gives more of a muted impression and dulls down any bright saturated colors. I’ve often used it when I want to give my shot more of a mysterious impression. I wouldn’t recommend using this preset for shots that are already filled with dark colors.

3. Lightroom Preset Matte
The Lightroom Matte preset is excellent for portrait images that require a bit of darkening. It primarily affects the whites, blacks, and vibrancy of your image. Since it mutes lighter colors, it also smoothes out skin tone. I wouldn’t recommend using this preset for subject images since it can really wash out colors quickly.
4. Venetian Red
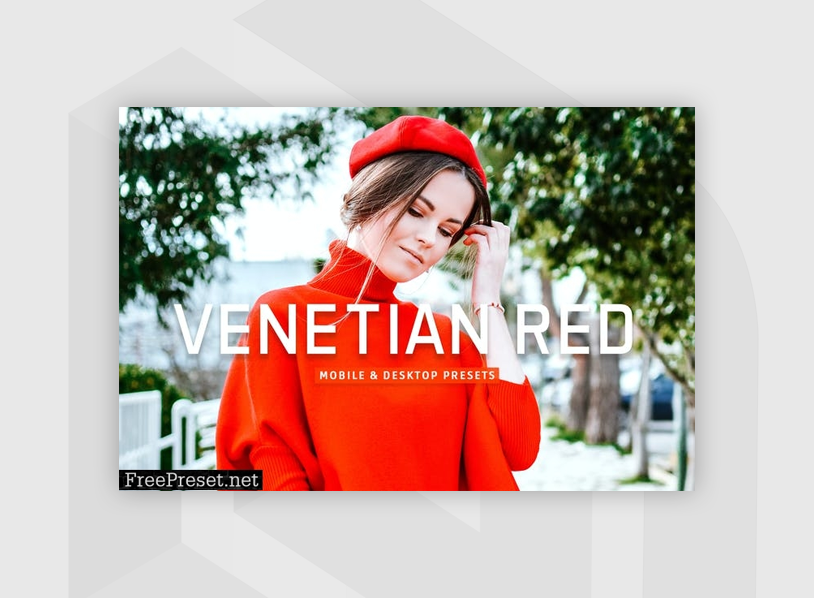
One of my personal favorites, the Venetian Red brings a rich black-and-white image with warmer tones out of your composition. It is excellent for when you want sepia motives out of your composition. I wouldn’t recommend using this for images that have a lot of shadows in them, as they can get a bit too dark.
5. Retro
The Retro preset works best when you really want attention in the center of your frame, as this preset adds a light vignette around the entire edges. Besides that, it increases saturation and provides skin tones with a more neutral look. I don’t recommend using this preset in landscape / no-subject shots, as the center of the frame will look very odd.
6. Black and White

50+ Free Black and White Lightroom Presets
As the name suggests, this best free dark Lightroom preset turns a colorful photo into black and white. I really like using this in street photography as it brings a lot of expressiveness to your subject. However, don’t use this in photos that have extremely dark or muted colors, as the preset will quickly ink them out of any detail.
7. Soft Skin
The Soft Skin preset is one of the more subtle dark presets in this list. It affects the saturation, vibrancy, and overall clarity of your composition. It works best in fashion / portrait shots when you need to add a subtle retro vintage effect to your shots. I don’t recommend using this in landscape shots, as it can really mute brighter hues.
8. Black and White (Contrast)
A black-and-white shot can add an aura of mystery to your shot like no other. For pictures that are well-lit, this preset brings in pure colors, rich shades, and vibrant shadows with a black-and-white filter that makes your photo feel that much more romantic. This preset doesn’t work well in pictures that have poor lighting.
9. Shadows
My favorite autumn preset, the Shadows best free dark Lightroom preset, turns a flat photo into a dramatic masterpiece. It works best with shots that have a dark or flat background with yellow hues being muted out. If you really want that stormy autumn look, this is the preset to look out for.
10. Gentle Colours
Quite a basic yet effective preset. It gives your shot a darker and warmer aesthetic by changing its exposure and highlights. Underexposed photos don’t look great on this preset. However, if you have a relatively bright shot, I suggest giving this preset a go.
11. Movie Star
Ever watched Once Upon a Time in Hollywood? Well, this free dark moody Lightroom preset really captures the essence of the color correction used in the film. Giving your image a retro, cinematic, warm look; the preset works great for both indoor and outdoor shots as well as fashion photography. A true all rounder!
12. Street Blue
If you are a fan of street photography, you’ll feel right at home with Street Blue. Suited best for urban landscapes, the preset gives your composition a grunge, industrial look with dark tones and high contrasts. If you want to help make the skies pop and really show skyscrapers soaring, this preset is for you.
13. Retro Film Fade

The Retro Film Fade Lightroom preset can really dull down your image if you aren’t too careful. However, with a properly exposed and well-lit shot, you’ll end up with a cinematic-looking composition that removes some detail but compensates with some excellent color correction. The preset works especially great on portrait photos without human subjects.
14. Rich, Dark and Moody
Fake it till you make it is the name of the game, and this preset truly encapsulates it. If you ever wanted to look like an Instagram Diva or just had to get that posh aesthetic up and running, this free best dark Lightroom preset has got you covered. It doesn’t strip away color like most presets and instead focuses on brightening skin tone and saturating your composition.
15. Dark & Moody
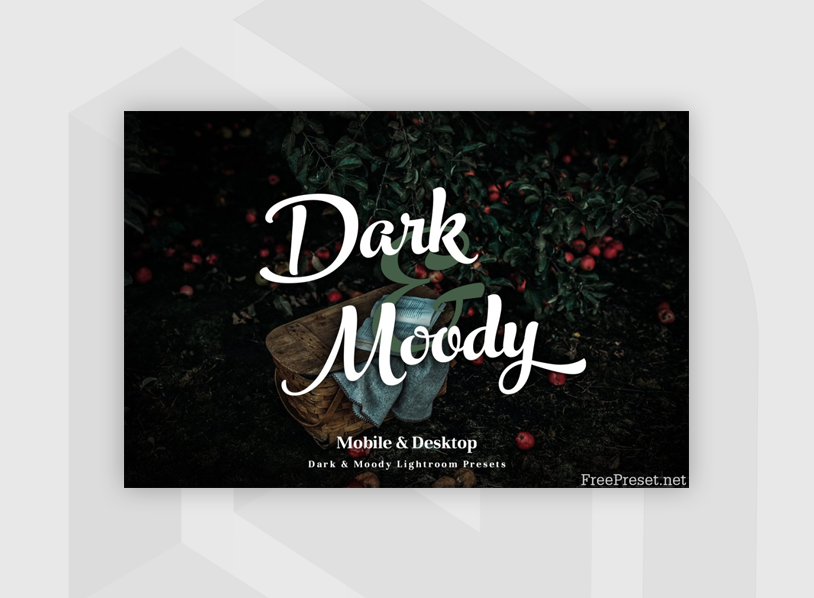
As the name suggests, this Lightroom preset really darkens up your composition and brings out your subject. I love using this for wildlife photography or in duller shots when darkening does a saturated image absolute wonders. Try not to use this in poor lighting conditions. Otherwise, you’ll lose out on a ton of detail.
16. Beart-Presets Moody
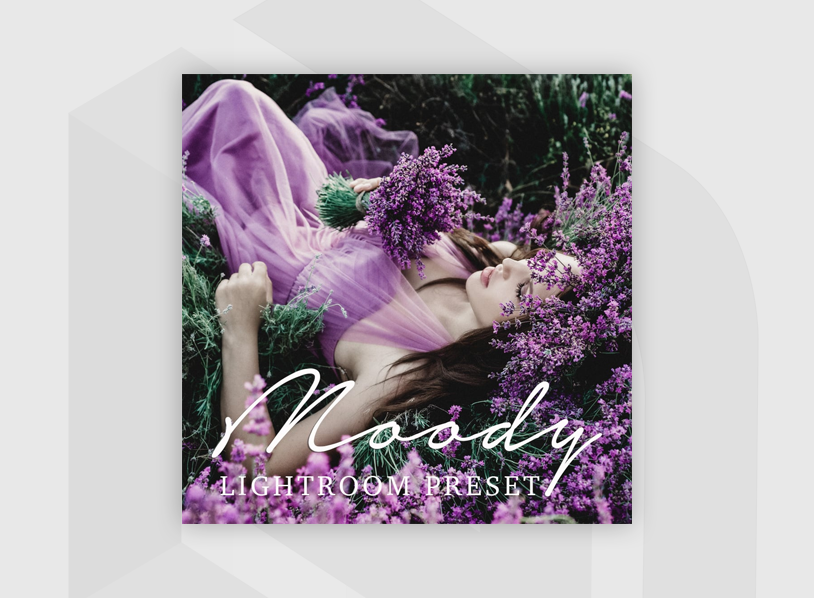
If you want velvety blacks, rich toning, deep contrasts, absolute blacks, and film-inspired color correction, the Beart Presets Moody Lightroom preset is an excellent choice. It really brings out the life and vibrance in your images and works great in both portrait and landscape shots.
17. Stylish
The Stylish preset works excellent in fashion photography or for an urban portrait. It greatly increases saturation and brings out all the muted tones. However, it does take away some of the contrast of your image and evens the overall composition. The preset works great when your subject is wearing relatively bright colors.
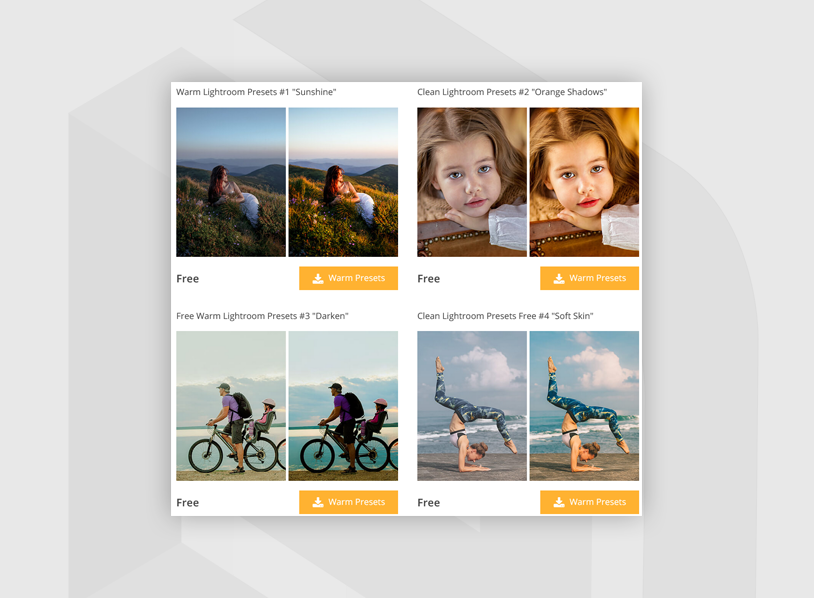
18. Darken
If you’ve ever hit the gym, you’ll know how even lighting can truly make your muscles pop. In most cases, naturally achieving that light isn’t possible. This is where the Darken Lightroom preset comes in. This works great for fitness shots where you want your subject to look as vascular and muscular as possible.
19. Midtone
This preset is truly unique. Instead of completely darkening your photo, the Midtone Lightroom preset focuses on well, the Midtones! Providing an excellent balance between saturation and vibrant colors, this preset works great on shots that have a more neutral aesthetic where you want focus to be both on the background and foreground.
20. Contrast
If your photo lacks pizzaz, the Contrast Lightroom preset has got you covered. Focusing on improving contrast more than anything else, the preset adds some much-needed saturation to your otherwise dull shots and aims to add a lot of vibrance to your composition. I’ve seen it work especially great on overexposed shots that need a lot of darkening up.
21. Rosy
Rosy is more of a subtle preset. It works great on photos that have lightened shadows and are underexposed. It focuses on improving contrast, and vibrance and saturates your composition by a significant margin. I’ve used it best when a portrait shot is hit by direct sunlight, and the subject’s features are too overwhelmed by the light.
22. Film
If the rich and vintage aesthetic felt like it was too much, the Film preset is a good median. Focusing more on improving saturation and smoothening skin tone, the Film preset provides a vintage retro look, akin to a Fujitsu lens while still keeping the subject’s detail in check.
23. Brighten
Huh? What’s a preset called Brighten doing here? Well, the best free dark moody Lightroom presets are ones that can cater to any image. And, this preset brightens up your shot but dulls down colors giving your shot a more grounded appearance. This preset works best in extremely well-lit situations where a little bit of darkening can actually make your image pop.
24. Warm
The Warm preset is a default preset I test out with almost every image. This is because the preset is quite subtle. It doesn’t dull or brighten up your shot by an insane margin. Instead, it focuses on smoothening out tones, bringing saturation and contrast to nominal levels and giving your composition a warmer, reddish hue. I suggest trying this preset out before you try out the others to get a baseline standard.
25. Cool
The Cool preset works great for shots with a lot of blue or green in them. It doesn’t do well with extremely light or dark skin tones and works best when your photo isn’t extremely oversaturated but isn’t washed out, either. I use this preset a lot in urban settings, as it helps the skies and foreground pop quite seamlessly.
Get 3 Free Stock Ebooks
Discover top-performing stocks in AI, Crypto, and Technology with expert analysis.
- Top 10 AI Stocks - Leading AI companies
- Top 10 Crypto Stocks - Blockchain leaders
- Top 10 Tech Stocks - Tech giants

